
We sit down with families every summer to ask a simple question: What if our holiday celebrations could do more than entertain? What if they could spark a sense of wonder and empower the next generation of thinkers?
U.S. Independence Day is often synonymous with backyard barbecues and professional fireworks displays, but it is also the perfect opportunity to reimagine traditional festivities through a STEAM (Science, Technology, Engineering, Arts, and Math) lens. By turning common household items into blueprints for discovery, we can transform a standard July 4th into a collaborative ecosystem of learning and fun.
In this guide, we’re exploring how to move beyond the screen and into the world of hands-on "Red, White, and Blueprints." These five projects are designed to challenge assumptions, build grit, and spark a "learner-centered" holiday experience, whether at your kitchen table or in your backyard.
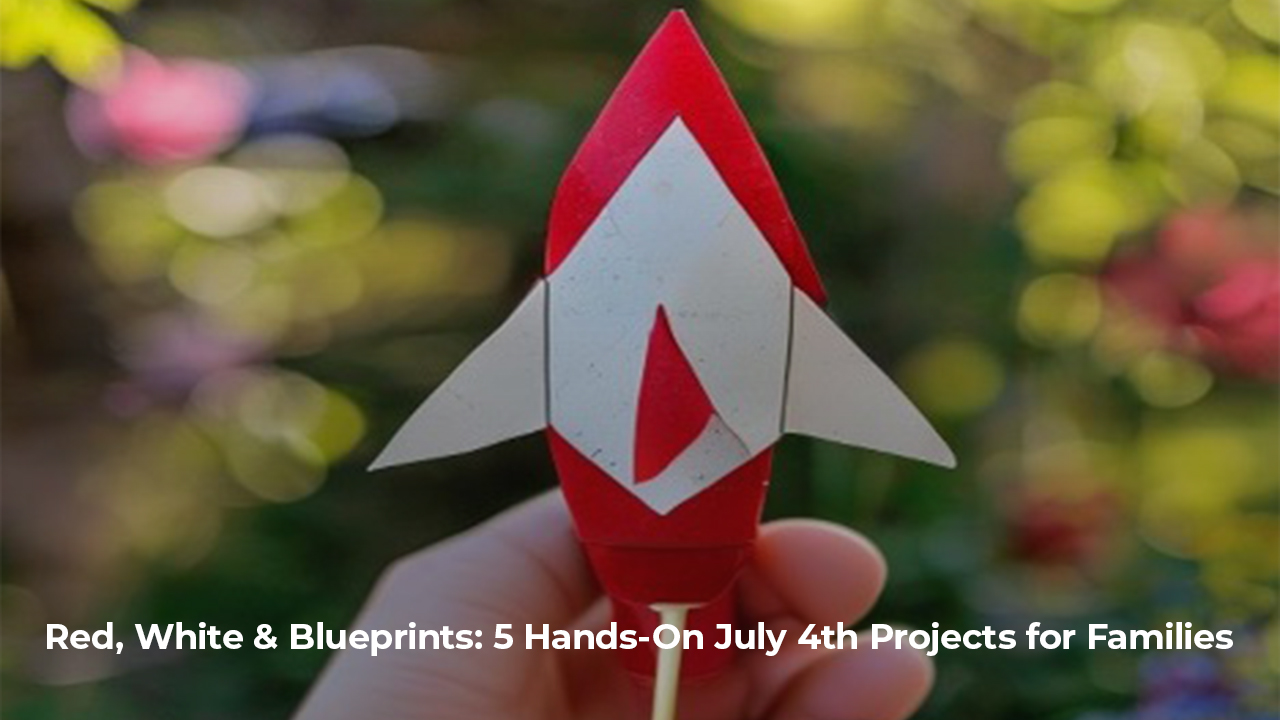
- Patriotic Straw Rockets: Engineering the Reaction
- What does it look like to turn a simple breath of air into a lesson in aerospace engineering? This project takes the excitement of a fireworks launch and scales it down into a safe, engaging experiment that illustrates Newton’s 3rd Law of Motion.
- The Challenge: Build a lightweight rocket that travels the farthest using only the force of your breath.
- Key Ingredients:
- Two different-sized straws (one that fits inside the other) or one straw and a piece of paper.
- Red, white, and blue markers and construction paper.
- Tape and scissors.
- The Blueprint
- Roll a small piece of paper into a tube that slides easily over your launcher straw.
- Tape one end of the tube completely shut to create a nose cone. This prevents air from escaping!
- Engineering Challenge: Add "fins" to the bottom of your paper tube. How do different fin shapes change the flight path?
- Slide your "rocket" onto the straw, take a deep breath, and blow!
- The "Why" Behind the Wow:
- As you blow air into the straw, the air pushes against the closed end of the paper tube. According to Newton’s Third Law, for every action (air pushing back), there is an equal and opposite reaction (the rocket flying forward). By experimenting with different fin designs, kids practice iterative design, adjusting their "prototype" to improve stability and distance.
- Fireworks in a Jar: A Study in Liquid Architecture
- We often see fireworks in the sky, but what if we could recreate that explosion of color in a controlled, aquatic environment? This activity introduces the human-centric values of patience and observation while teaching the fundamentals of density and solubility.
- The Science of Submersion: Why don't oil and water mix? It's all about molecular structure. In this experiment, we use those differences to create slow-motion "fireworks" that are as beautiful as they are educational.
- The Blueprint:
- Fill a clear jar 3/4 full with warm water.
- In a separate small bowl, mix 3-4 tablespoons of vegetable oil with several drops of red and blue food coloring.
- Use a fork to gently break the color droplets into smaller beads, but don't over-mix: you want distinct "pockets" of color.
- Slowly pour the oil mixture into the water jar.
- The "Why" Behind the Wow: Because oil is less dense than water, it floats on top. Food coloring is water-based, so it won’t dissolve in the oil. Instead, the color droplets slowly sink through the oil until they reach the water's surface. Once they reach the water, they diffuse, creating a stunning display of "underwater fireworks." This is a perfect moment to discuss how materials interact within a complex ecosystem.
- The Skittles Spectrum: Exploring Diffusion Patterns
- Innovation often comes from looking at everyday objects, like candy, and asking, "What else can this do?" The Red, White, and Blue Skittles Experiment is a fantastic way to visualize molecular movement and concentration gradients.
- Key Takeaways:
- Diffusion: The movement of particles from high to low concentration.
- Solubility: How easily the sugar coating dissolves in warm vs. cold water.
- The Blueprint:
- Arrange red and blue Skittles in a circle around the edge of a white plate. Leave spaces for "white" (the empty plate) or use white candies if available.
- Gently pour warm water into the center of the plate until it reaches the edge of the candies.
- Watch as the colors race toward the center.
- The "Why" Behind the Wow: As the sugar and food coloring dissolve, they move through the water. You’ll notice the colors don’t immediately mix; they form distinct lines. This happens because each color forms a solution with a similar density, so they push against each other as they move. It’s a great visual for virtual resources and experiments you can do with limited supplies.
- DIY Confetti Poppers: Mastering Energy Transfer
- Celebrations need a "pop," but instead of buying disposable plastic launchers, we can build our own. This project explores potential and kinetic energy, turning a simple cardboard tube into a physics lesson.
- Materials for Launch:
- Upcycled toilet paper or paper towel tubes.
- Balloons (red or blue).
- Tape and patriotic stickers.
- Homemade confetti (shredded red, white, and blue paper).
- The Blueprint:
- Tie a knot in the neck of an uninflated balloon, then snip off the top (the wide part).
- Stretch the balloon over one end of the tube and secure it tightly with tape.
- Decorate your launcher! This is where the "Art" in STEAM shines.
- Fill the tube with confetti, pull back the knotted end of the balloon, and release!
- The "Why" Behind the Wow: When you pull back the balloon, you store potential energy. The moment you let go, that energy is converted to kinetic energy, which is transferred to the confetti, launching it into the air. This hands-on application of physics is exactly the kind of work we champion in our Fab Lab, where students learn to build the tools they use.
- LEGO Flag Challenge: Design Thinking in Action
- Finally, we look at the heart of engineering: building within constraints. Using LEGOs or any available household blocks to build an American flag (or a flag of their own design) encourages kids to think about proportions, symmetry, and structural integrity.
- The Challenge: Can you build a flag that stands upright using only 50 bricks? What if you have only red and white bricks: how do you represent the blue field?
- The Blueprint:
- Start with a baseplate or a solid foundation.
- Research the proportions of the flag. Did you know there are 13 stripes?
- Iterate: If the flag falls over, how can you reinforce the "hoist" (the side near the pole)?
- Symbolic Design: Encourage kids to design a "Family Flag" that represents their own values and history.
- The "Why" Behind the Wow: This isn't just "playing with blocks." It’s a lesson in Hacking School: taking a standard toy to solve a design problem. It requires spatial reasoning and logic, the core skills for the next generation of architects and engineers.
Transform Your Holiday into a Learning Adventure
At the PAST Foundation, we believe every moment is a chance to reimagine education. Whether you’re launching straw rockets or studying the diffusion of Skittles, you’re doing more than just passing the time; you’re building a collaborative ecosystem where curiosity is the guest of honor.
Ready for more?
- Explore more hands-on activities on STEM Streaming.
- Check out our Summer Programs for deeper dives into engineering and design.
- Stay tuned for Part 2 of this series, where we’ll explore how to turn Independence Day into a full STEAM learning moment!
How are you engineering your 4th of July? Share your "Red, White, and Blueprints" with us on social media (we can’t wait to see what you build!)


Responses